To make bricks from clay, there are traditionally five steps involved:
1. Obtaining the Clay
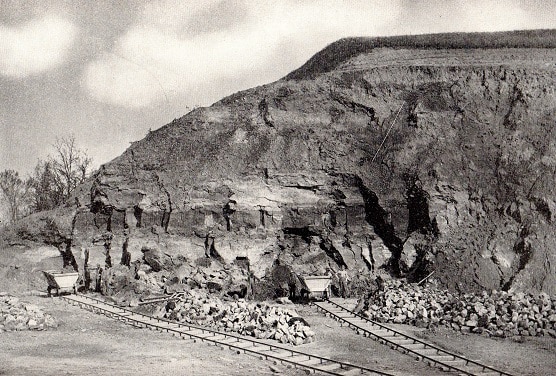
Producing bricks requires good clay. Clay can be found in many areas, but some deposits of clay are better than others. Good clay doesn’t contain a lot of sediment, debris, or limestone. Some clay deposits can be found along rivers, while in other areas clay can be found right below the top soil. Once a good source of clay was found, it was dug out and aged over the winter. When the clay was exposed to winter temperatures, it dried out the clay and made the clay easier to work with. After quite a bit of clay had been dug out from a source, it became a clay “pit.” These clay pits were a dangerous place to work, because the walls would occasionally give way and fall on top of the workers below.
2. Making the “Batter”
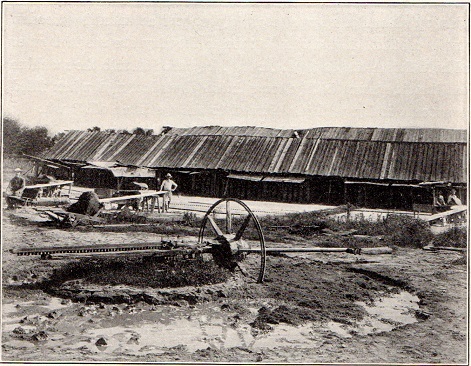
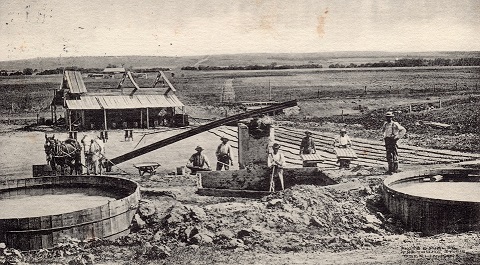
The batter for making bricks consists of clay, water, and sand. Successful brickyards had a ready source for each of these ingredients. The exact ratios of each depended on the clay that was used. Some clays contained sand already, therefore they did not require as much to make bricks. The three ingredients were combined and mixed together into “mud.” How the ingredients were mixed has changed a lot over the years. Initially, the clay, water, and sand were thrown into a shallow circular pit. A pole with a wheel was anchored to a pivot in the middle of the pit, while the other end was attached to a horse. As the horse walked in a circle around the edge of the pit, the wheel would mix the batter into the correct consistency for a good “mud.”
3. Shaping the “Mud” into Bricks
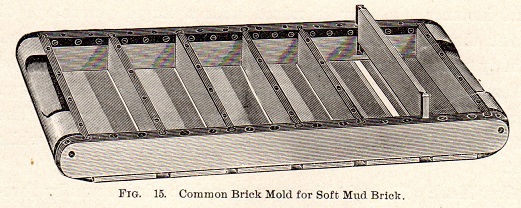
When the three ingredients mentioned in step 2 were combined and well-mixed, they were in a putty form. This meant they could easily be shaped into bricks. The standard brick was 4 x 8 x 2 ¼ inches in size. Not all bricks conformed to this size, but most were close. Balls, or lumps of clay, were “dusted” with sand (to prevent them from sticking to the wooden molds) and pushed into sanded rectangular forms (brick molds). Any excess clay could easily be removed at this point. Some brick molds were made to form 1 brick, 2 bricks, 4 bricks, 6 bricks, or 8 bricks.
4. Drying the Raw Bricks
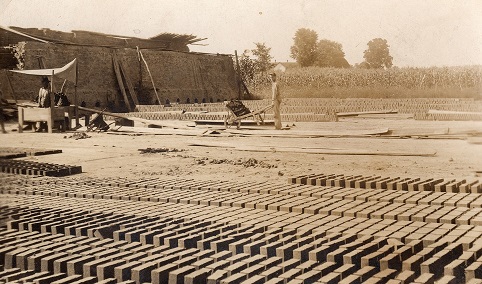
After a brick is formed, it still contains a lot of water. Therefore, the raw bricks had to be laid out to dry. However, laying them out to dry was a tricky process, because raw bricks can easily be disfigured, making them useless. The trick was to limit the amount of handling, or exposure to any potential damage. The raw bricks were laid out on the ground to dry in the sun, or they could be laid out on shelves in covered racks. Generally, the bricks had to be dried for several days, until most of the water had evaporated out of them. The bricks also had to be turned over, so the bottoms would also dry. During this drying period, the raw bricks had to be kept above freezing and dry. If they were rained on or frozen, they could not be used. Therefore, most people quickly got away from laying them out to dry in the sun.
5. Firing the Bricks
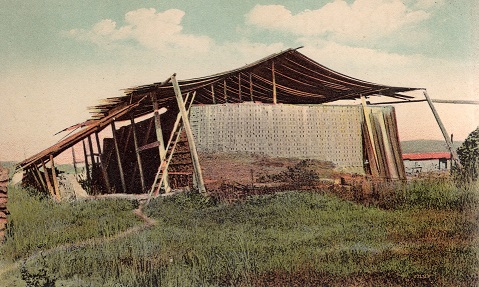
The final step in the brick making process was “cooking” the bricks in a kiln. The bricks had to be cooked to a high enough temperature to be “cured.” Thousands of dry, raw bricks were stacked over a fire, and walls were built on all sides of the fire, to contain the high heat. The fires were kept burning for several days, until the bricks reached a very high temperature. Once this occurred, the fire was allowed to burn out, and the bricks could be removed for sale. This burning method was far from perfect, because the temperature inside the walls was not uniform. Bricks that were stacked closest to the fire were often scorched, while those stacked farther away were not. Too much heat could warp or crack a brick. Not enough heat could result in a brick having to be fired again. Heat variations could also change the natural color of a brick. The color of a raw brick is usually different than the color of a fired brick.
